How to Pack and Send Ceramic Antiques Safely: A Comprehensive Guide
Packing and shipping ceramic antiques requires careful handling and the right materials to ensure these fragile items arrive at their destination without any damage. In this blog post, we will guide you through packing ceramic antiques using the essential materials: robust cardboard boxes, packaging paper, bubble wrap, and packing foam peanuts.
Why Proper Packing Matters
Ceramic antiques are delicate by nature and can easily chip, crack, or break during transit. Mishaps such as falls or vibrations can lead to costly damage or irreparable losses. Proper packing not only safeguards your antiques but also provides peace of mind while they are in transit.
Materials You’ll Need
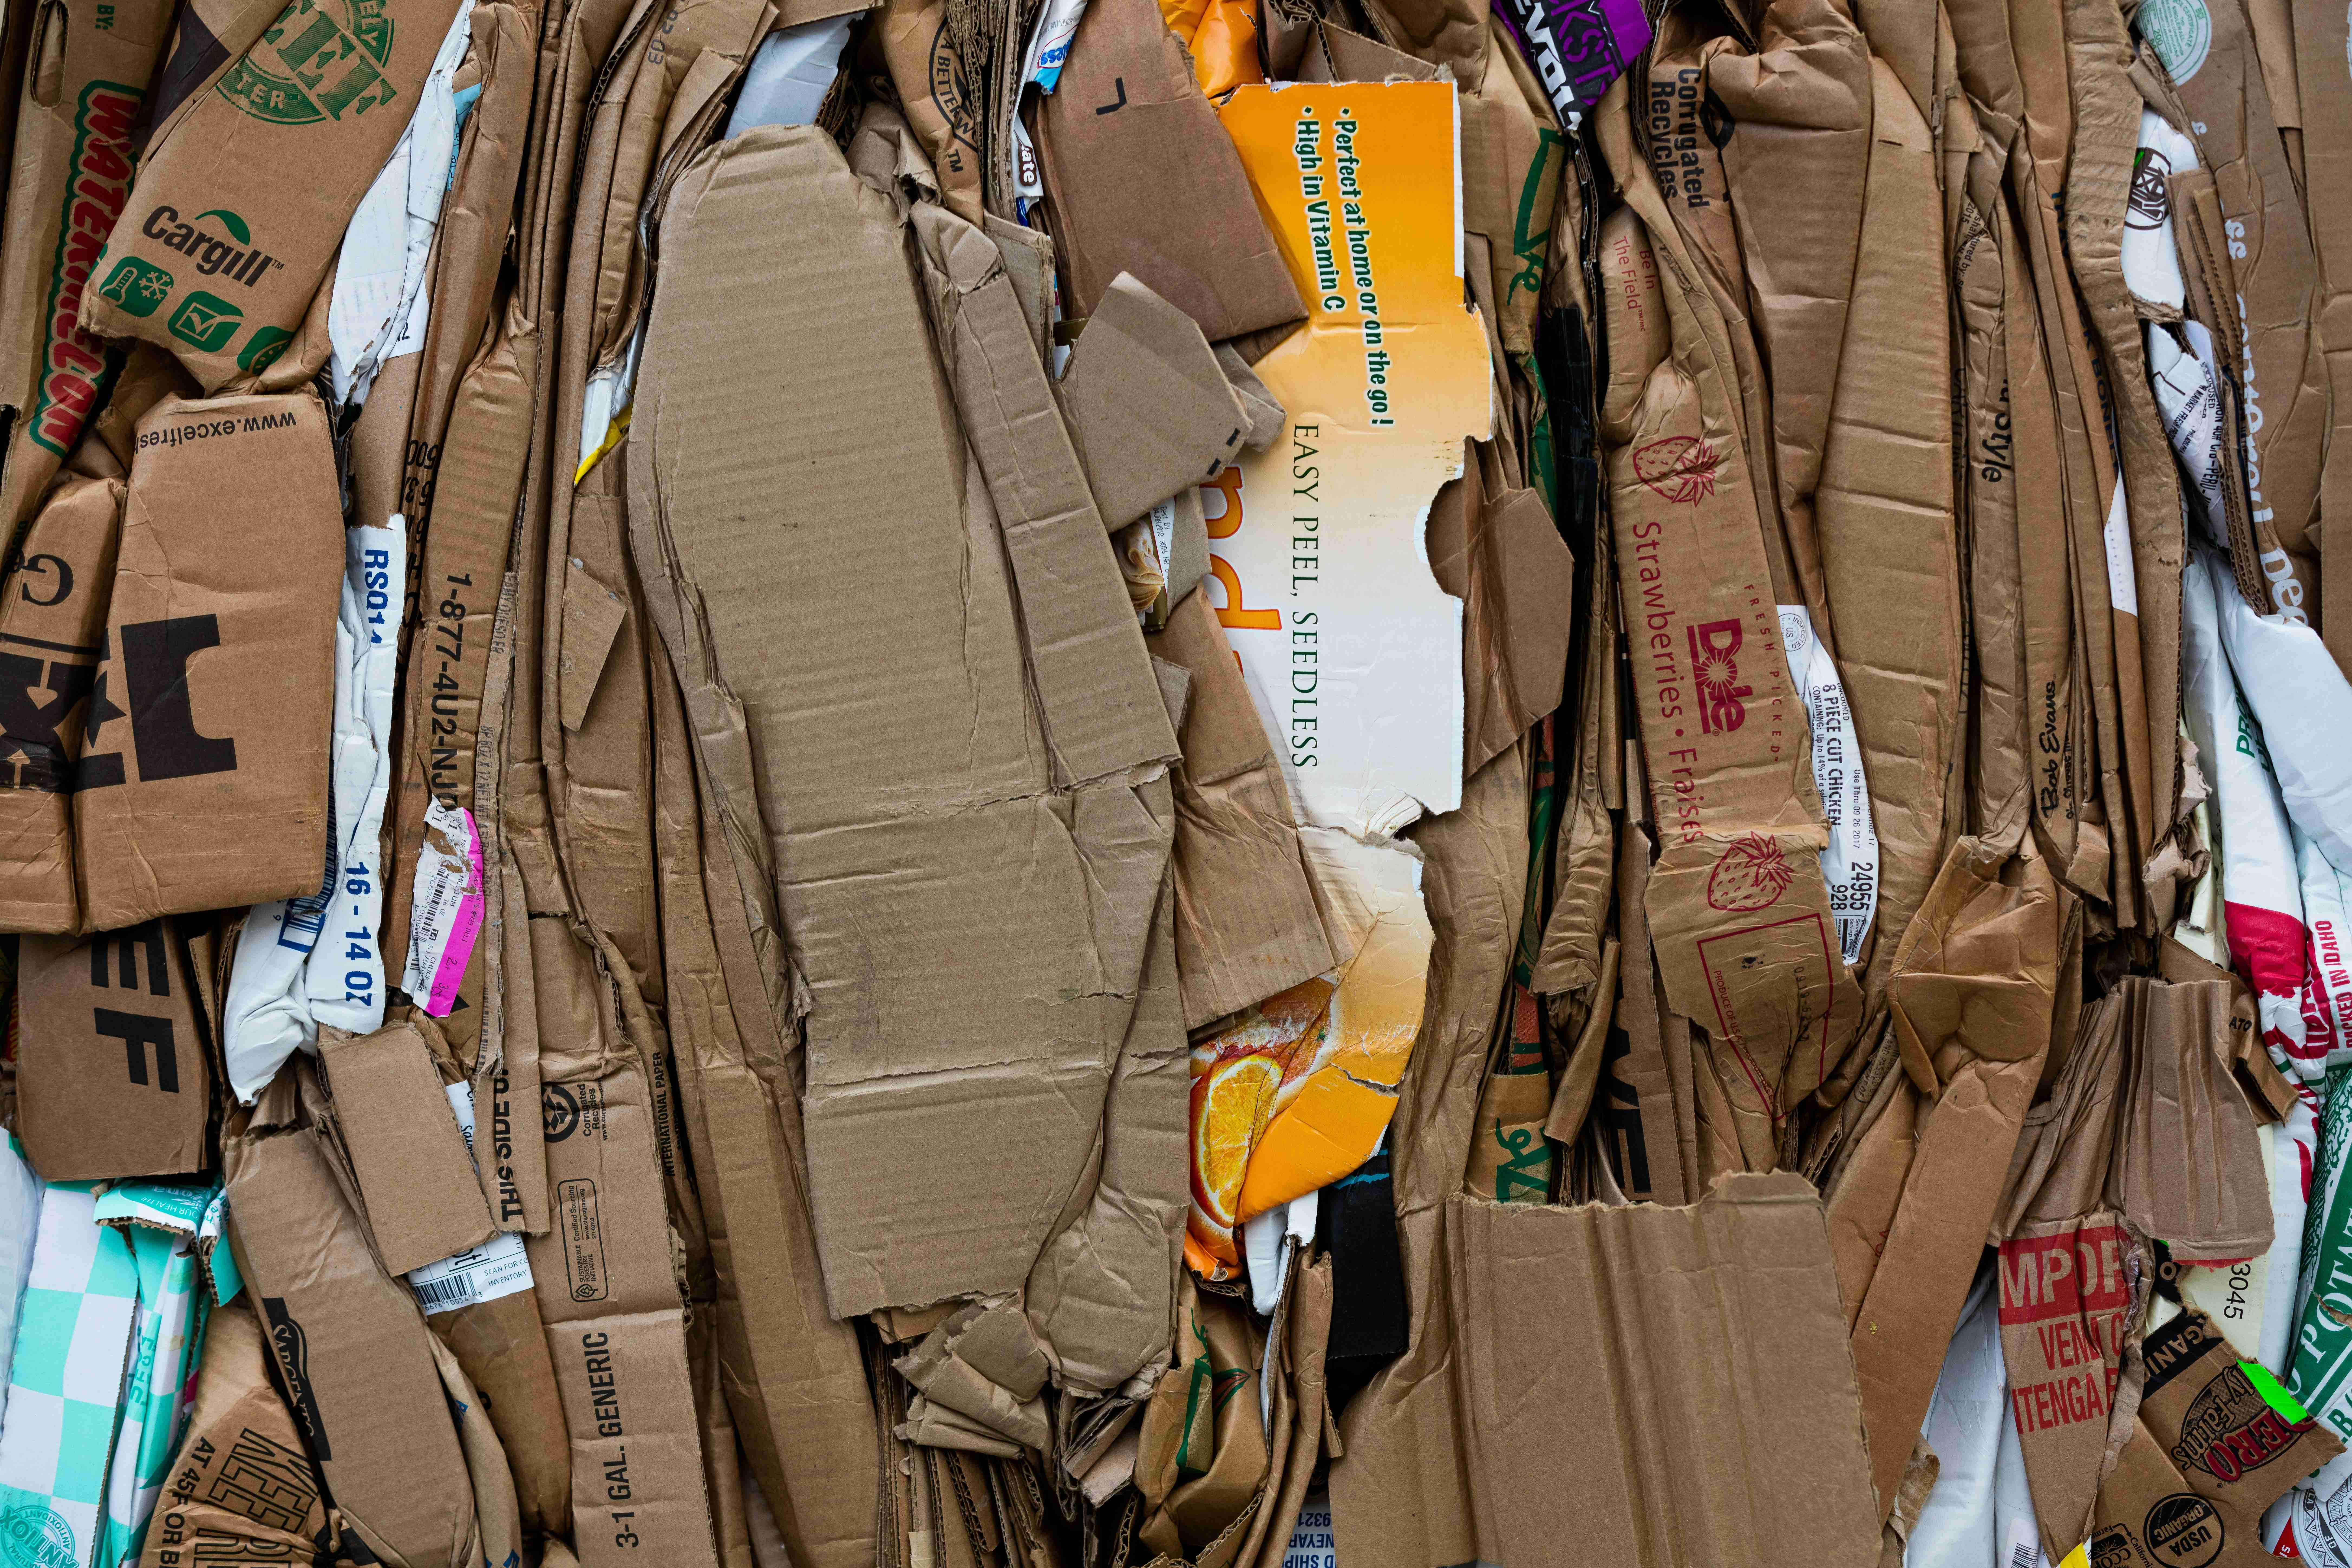
Robust Cardboard Box: Choose a box that is slightly larger than your ceramic item, allowing room for padding and protection. A double-walled box is ideal for added strength.
Packaging Paper: This thick, durable paper provides an initial layer of wrapping that can cushion your item and help protect its surface from scratches.
Bubble Wrap: Featuring air-filled pockets, bubble wrap offers excellent cushioning for fragile items, reducing the risk of damage from impact.
Packing Foam Peanuts: These lightweight fillers help absorb shock and prevent the item from shifting during transport.
Packing Tape: Strong packing tape is necessary to securely seal your box.
Step-by-Step Packing Guide
Step 1: Prepare Your Workspace
Select a clean, spacious area to pack your ceramic items. Ensure all materials are easily accessible to facilitate an efficient packing process.
Step 2: Wrap the Ceramic Items with Packaging Paper
Prepare the Item: First, ensure that your ceramic piece is clean and dry. Pre-wash with a little washing-up liquid always works wonders. If your item has delicate components, such as handles or lids, consider removing them for safety during transport and packing as an individual item in the same box if space allows.
Wrap with Packaging Paper: Start by wrapping the ceramic item in packaging paper. This paper will serve as a first layer, providing a buffer against scratches and minor impacts.
Secure the Wrap: Use packing tape to secure the packaging paper in place, making sure no part of the item is exposed.
Step 3: Wrap with Bubble Wrap
Add Bubble Wrap: After securing it with packaging paper, wrap the item in a layer of bubble wrap. Ensure that the bubble wrap covers every surface of the item, especially the more fragile areas. If you have two sizes to hand i.e. small bubble and large bubble, then use th esmall bubble for intial wrap then finish with the larger bubble wrap to end.
Secure with Tape: Use packing tape to keep the outer bubble wrap layer intact, adding extra layers for particularly valuable or fragile pieces. For the inital layers, sellotape can be used just to hold it in place before the final wrap goes on followed by the brown packaging tape.
Step 4: Prepare the Box
Select the Right Box Size: Choose a sturdy cardboard box that will comfortably fit your wrapped item along with protective padding.
Also consider in the first step – what is the maximum size you can send easily i.e to carry to the post office or where ever you drop the parcels off e.g. Inpost / Evri etc. With InPost for example the cubicles where you leave the box only goes to a certain size (around 14″ by 14″ square area)
Add Foam Peanuts at the Bottom: Pour a layer of packing foam peanuts into the base of the box. This serves as a cushioned foundation for your wrapped item.
Step 5: Place the Wrapped Item in the Box
Gently position your wrapped ceramic item in the center of the box, ensuring it is well-cushioned on all sides. The item should not touch the box walls to prevent any possible breakage.
Step 6: Fill the Box with Foam Peanuts
Pour additional foam peanuts around the item, filling any gaps so that the item has a snug fit and is immobilized within the box. Shake the box gently to help the peanuts settle and form a protective barrier.
Step 7: Seal the Box
Once you’re satisfied that the item is secure, fold the flaps of the box closed. Use packing tape to seal all seams thoroughly, ensuring your box is solid and ready for the rigors of shipping.
Step 9: Shipping
Take your box to your chosen shipping service. Consider selecting a shipping option with tracking and purchasing insurance, especially for valuable or irreplaceable items.
Final Thoughts
Packing ceramic antiques doesn’t have to be intimidating or overwhelming. By following this structured guide and utilizing the appropriate materials—robust cardboard boxes, packaging paper, bubble wrap, and packing foam peanuts—you can ensure that your cherished antiques reach their destination safely.
At Rummage Antiques, we adhere to this packing practice every time to guarantee that our customers receive their purchases in one piece. We believe that every antique tells a story, and we strive to ensure yours continues seamlessly, right from our hands to yours. With a few careful steps, you can ship with confidence and safeguard your valuable items for years to come. Happy shipping!

